

Every month, homeowners hand over money to their utility company because their building envelope leaks air. The EPA estimates that homeowners can save an average of 15% on heating and cooling costs just by air sealing their homes and adding insulation in attics, floors over crawl spaces, and basements, according to ENERGY STAR. And here’s the part that surprises most people: 9 out of 10 homes in the United States are under-insulated. If your rooms are drafty in winter, stifling in summer, or your AC runs nonstop through a Florida afternoon, your home is probably in that majority.
That’s where spray foam insulation comes in. Unlike fiberglass batts or blown-in cellulose, spray foam does two jobs at once. It insulates against heat flow, and it seals the gaps, cracks, and voids that let conditioned air escape in the first place. Done right, it changes how a home feels, sounds, and performs. Done wrong, it creates problems that are expensive to undo.
We’ve spent years installing spray foam insulation across Southwest Florida, from tight crawlspaces in Fort Myers bungalows to metal-roofed commercial buildings, and we’ve seen every way a project can go right and wrong. This guide is the reference we wish every homeowner and builder had before signing a contract.
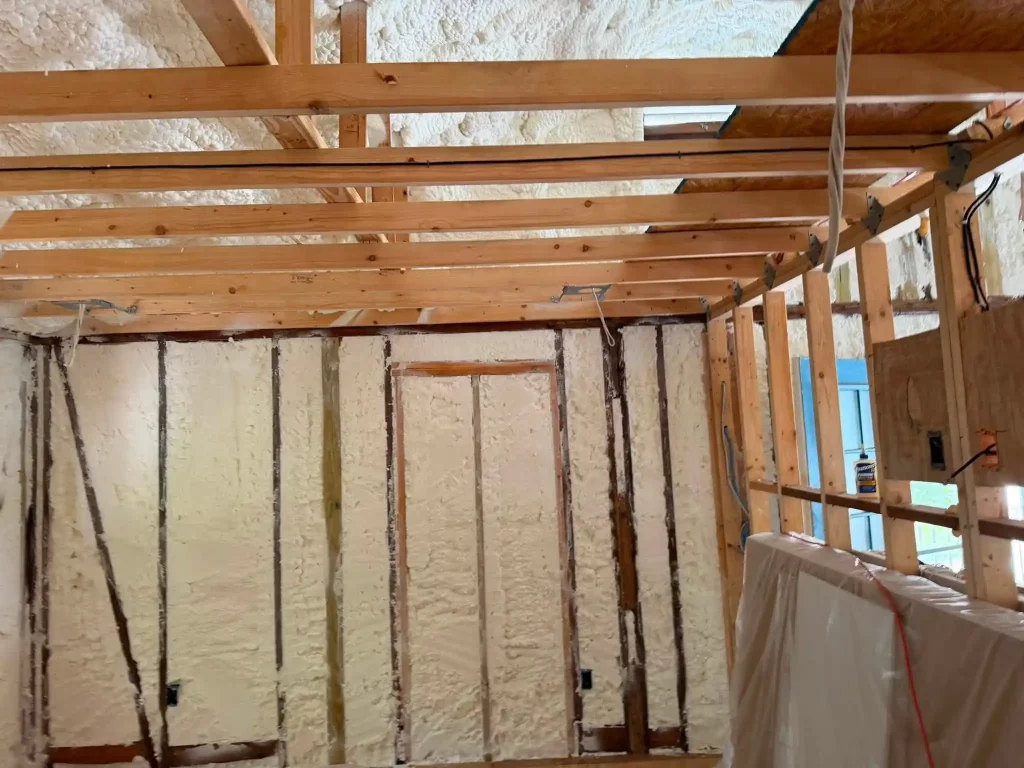
Spray polyurethane foam, usually shortened to SPF, is a two-part liquid insulation that’s mixed at the spray gun and applied as a liquid. It expands within seconds into a foam that fills cavities, seals gaps, and hardens in place.
The chemistry sounds intimidating, but the concept is simple. Two tanks feed the spray rig. According to a Department of Energy Building America guide, one side carries polymeric MDI (an isocyanate), and the other carries a blend of polyol resins, surfactants, fire retardants, and catalysts. When these two liquids meet at the nozzle, they react, heat up, and expand. The applicator controls thickness by controlling how much is sprayed, because there’s no batt to cut and staple. The foam becomes the exact shape of the space.
That expanding, adhering behavior is the whole point. Fiberglass and cellulose slow heat flow, but they do almost nothing to stop air from moving through and around them. Foam blocks both. As the DOE guide puts it, both open-cell and closed-cell foams are excellent at air sealing, and it’s this attribute that makes their performance superior to typical insulations when it comes to blocking airflow.
Think about what that means in a real house. A typical home’s leaks, holes, and gaps add up to the equivalent of leaving a window open every day of the year, according to ENERGY STAR. Insulation that doesn’t stop air is fighting the battle with one hand tied. Foam closes the window.
Foam also delivers benefits people don’t always expect. It quiets outside noise, reduces the dust, pollen, and pests that ride in on air leaks, and helps control humidity, which matters a great deal in a humid climate like ours.
Key Takeaways
Every spray foam conversation eventually lands on this question, and for good reason. These are two genuinely different materials that happen to come from similar chemistry. Choosing wrong doesn’t just waste money, it can create moisture problems down the road.
Here’s the side-by-side view:
| Property | Open-Cell Foam | Closed-Cell Foam |
|---|---|---|
| Density | ~0.5 lb/cu ft (soft, flexible) | ~2.0 lb/cu ft (rigid) |
| R-value per inch | ~R-3.6 | ~R-6 |
| Vapor permeance | Permeable (10 perms at 5 inches) | Retarder (<1 perm at 2 inches) |
| Water absorption | Can hold significant water | Hydrophobic, does not absorb |
| Expansion ratio | Up to ~150x | ~35–50x |
| Application per pass | Up to 10 inches | 2–3 inches per pass |
| Sound dampening | Strong (STC 37 in a 2×4 wall) | Moderate |
| Structural contribution | Minimal | Adds racking and uplift strength |
| Relative cost | Lower | Higher |
So which one do you choose? Climate and location make the call. In cold climates, open-cell works well in wall cavities when paired with an interior vapor retarder, while closed-cell needs enough thickness to keep its inner surface above the dew point. In hot-humid climates like Southwest Florida, closed-cell is the preferred choice in walls because it controls vapor from the outside while letting the assembly dry inward. Open-cell spray foam remains acceptable there, but it demands careful moisture management and should never be paired with a vapor-blocking interior finish. Below grade, in basements and crawlspaces, the guidance is blunt: open-cell is not acceptable, closed-cell is preferred. And in flood-prone regions, closed-cell foam insulation is recognized among the materials that meet the National Flood Insurance Program’s flood-resistant standard, meaning it can withstand prolonged floodwater contact, at least 72 hours, without significant damage, according to Reduce Flood Risk, a resource library built on FEMA’s Technical Bulletin 2.
One more wrinkle: the two don’t compete as much as people think. A hybrid approach called flash-and-batt applies a closed-cell layer to the sheathing for air and vapor control, then fills the rest of the cavity with a less expensive product.
Expert Tip: Don’t let anyone sell you on a single answer to “which foam is best.” The best foam is the one matched to the cavity, the climate zone, and how the wall or roof needs to dry. We’ve rebuilt projects where a one-size-fits-all decision trapped moisture inside a wall. Ask your contractor to explain drying direction, not just R-value.
The same material behaves differently depending on where you put it. Here’s how the major applications break down.
R-value measures how well a material resists heat flow. Higher numbers resist better. But R-value alone doesn’t tell the whole story, because an insulated cavity full of moving air underperforms its label. That’s the gap foam closes.
Building codes set minimum R-values by climate zone. The U.S. is divided into zones 1 through 8, with zone 1 the hottest (South Florida sits in zone 1 or 2) and zone 8 the coldest. The current targets come from the 2021 International Energy Conservation Code, which ENERGY STAR summarizes for retrofits:
| Climate Zone | Uninsulated Attic | Attic With 3–4″ Existing | Floor |
|---|---|---|---|
| 1 | R30 | R25 | R13 |
| 2 | R49 | R38 | R13 |
| 3 | R49 | R38 | R19 |
| 4A / 4B | R60 | R49 | R19 |
| 4C, 5, 6 | R60 | R49 | R30 |
| 7 / 8 | R60 | R49 | R38 |
Notice what these numbers imply for foam. In a hot-humid zone targeting R-38 at the roofline, open-cell gets there with roughly 10.5 inches in a single pass. A closed-cell would need about 6 inches, applied in multiple lifts. Both meet the target; they just take different paths and different budgets.
The smarter framing is “R-value plus air sealing.” A foam assembly at R-38 that stops nearly all air leakage often outperforms a leaky R-49 batt installation, because air movement carries heat and moisture far more aggressively than conduction alone. When you compare quotes, compare assemblies, not just numbers on a label.
Knowing what a good crew does, and when, helps you judge the crew you hire. Here’s the sequence we follow on a typical retrofit.
1. Assessment and moisture check: We inspect the space, look for active leaks, roof damage, or drainage problems, and confirm the assembly can be insulated safely. Foam never fixes a wet building; it hides one.
2. Preparation: Everything that shouldn’t get coated gets covered: floors, windows, HVAC equipment, stored belongings. Old insulation, if present, gets removed first so foam bonds to clean framing. We isolate the work zone and set up ventilation.
3. Crew and equipment setup: Professional work uses a high-pressure, two-component system that heats and proportionally pumps both chemical sides to the gun. Ratios matter enormously here, which is part of why this is not a do-it-yourself job.
4. Application in lifts: The applicator sprays in controlled passes. Closed-cell goes down 2 to 3 inches per pass so heat doesn’t build dangerously inside the foam. Open-cell can fill up to 10 inches at once. A good applicator checks texture and adhesion pass by pass; foam that cracks, shrinks, or pulls away signals a problem worth stopping for.
5. Trimming and inspection: Once cured, excess foam gets trimmed flush. The crew verifies full coverage, correct thickness, and clean terminations.
6. Thermal barrier where required: Both foam types are combustible, so code typically requires a 15-minute thermal barrier, in most cases half-inch gypsum board, over foam in occupied spaces. In attics and crawlspaces entered only for service, an ignition barrier may suffice. Requirements vary by product and application, so the specific evaluation report for the foam being used governs.
7. Re-entry and re-occupancy: Occupants stay out during application and after. General industry guidance calls for vacating the premises for at least 24 hours after installation, according to the U.S. Consumer Product Safety Commission. We confirm the exact re-occupancy window for the specific product in writing before every job.
Expert Tip: Ask any contractor for the product’s re-occupancy guidance in writing, before the truck arrives. The CPSC recommends homeowners discuss safety protocols up front, relocate occupants and pets, and exercise care in setting a safe re-entry time. If a contractor shrugs at this question, that tells you everything.
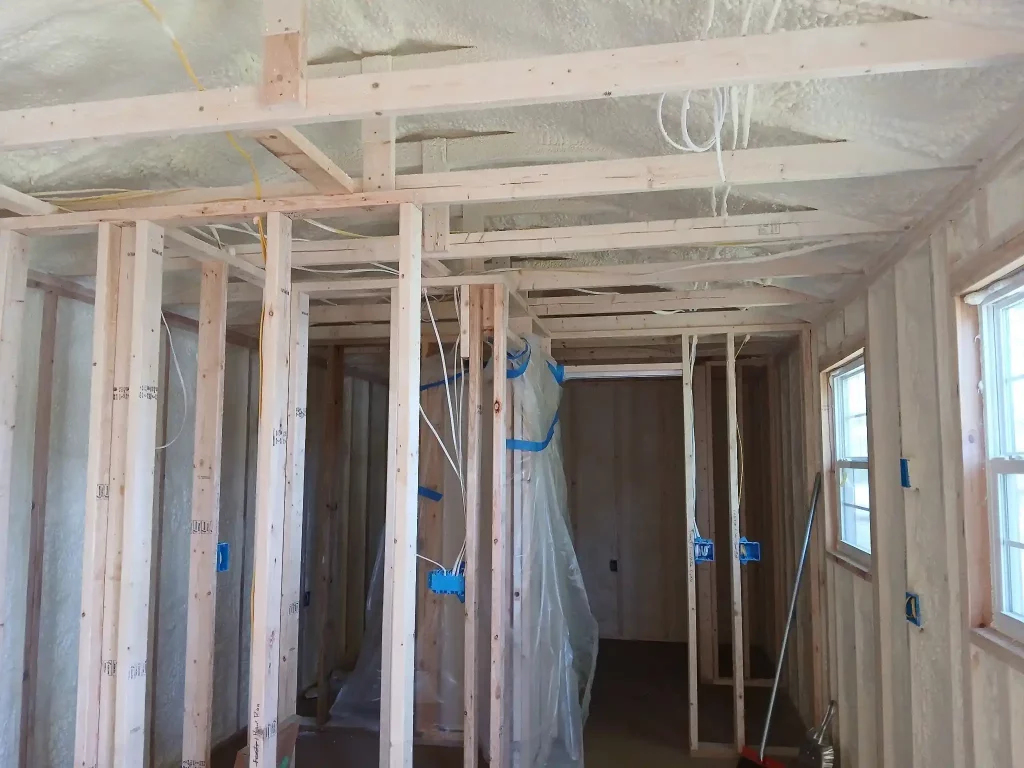
This is the topic homeowners ask us about most, so let’s deal with it plainly.
During application, the chemicals are the concern. Spray application generates isocyanate vapors and aerosols, and research data indicate that inhalation exposures during SPF installation typically exceed occupational exposure limits, which is why applicators wear supplied-air respiratory protection and skin protection, and why other workers and occupants must stay clear, according to the EPA. Vapors can migrate through a building if the area isn’t isolated, so containment and ventilation are part of professional practice, not optional extras.
Curing is where the timeline comes from. Foam can feel tack-free within minutes, but it’s still reacting. Curing time depends on the product, thickness, temperature, and humidity. Some manufacturers recommend 24 hours after application of a two-component professional system before workers re-enter without protective equipment and before occupants return. When in doubt, the manufacturer’s guidance for the specific product governs, per the EPA.
What about odors after the fact? When foam is correctly applied and fully cured, it’s generally considered relatively inert, and that’s how the vast majority of installations end up. Persistent chemical smells after a job usually point to foam that didn’t cure properly, often from off-ratio mixing or spraying into conditions that were too cold, too humid, or on a substrate that was contaminated. If that happens, the EPA advises working with your contractor to identify the problem, hiring a qualified indoor air quality consultant to diagnose sources, and seeking medical attention for any breathing symptoms. Homeowners can also file a report with the CPSC through SaferProducts.gov.
Two long-term notes worth knowing. First, never heat, grind, or sand cured foam; those processes can generate toxic emissions, so plumbers and electricians should be told where foam is located. Second, because foam is so effective at sealing, plan for ventilation. A tight house may need mechanical ventilation or humidity control to stay healthy, which is a feature, not a flaw, if it’s designed for.
Expert Tip: Timing matters. Because temperature and humidity play a critical role in curing, in Southwest Florida we plan foam work around the driest, most stable weather windows available and confirm substrate moisture before spraying. A rushed schedule in the wrong conditions is the most common root cause we find behind odor complaints.
Real numbers help you budget, so here are ours, drawn from our own completed projects across the Fort Myers area. Typical homes we work on run 1,500 to 4,000 square feet, and these figures reflect that mix.
| Service | Typical Low | Typical Average | Typical High |
|---|---|---|---|
| Closed-cell spray foam | $4,000 | $30,000 | $100,000 |
| Open-cell spray foam | $4,000 | $9,000 | $30,000 |
| Attic insulation | $4,000 | $6,500 | $30,000 |
| Insulation removal | $4,000 | $6,500 | $30,000 |
| Insulation replacement | $4,000 | $6,500 | $30,000 |
Why does the spread run from a few thousand to six figures? Because material volume and access drive everything. In our experience, these factors push project pricing up: larger square footage, greater thickness or higher R-value targets, difficult access, removal of old insulation, steep roof pitch, material price changes, and longer travel distances. The biggest thing that brings pricing down is ease of the job and accessibility. An open, empty attic with wide access goes fast; a cramped crawlspace with tight clearances takes far longer per square foot.
A few honest observations from the field. Open-cell projects average far less than closed-cell because closed-cell uses more raw material per cubic foot. Whole-home wall-and-roofline foam sits at the high end of the ranges, while single-area projects like a band joist or a crawlspace sit at the low end. Removal is its own line item; if your attic has old, soiled, or damaged insulation, budget for extraction before new foam goes in. And location does affect pricing, since fuel and travel time factor in for any crew, which is worth confirming when you gather quotes.
Insulation is one of the few upgrades that pays you back monthly. The savings math starts with the air-sealing effect we covered earlier, an average of 15% off heating and cooling costs when homeowners air seal and insulate attics, floors over crawl spaces, and basements, per the EPA estimate published by ENERGY STAR. In a hot-humid climate where cooling dominates 8 to 10 months of the year, the air-sealing contribution is especially meaningful, and sealed-attic construction can shorten AC runtimes noticeably.
Beyond the utility bill, count these returns:
On incentives: federal tax credits for energy-efficient upgrades, including insulation, were available through the end of 2025 under the program summarized by ENERGY STAR. Programs change often, so check current federal, state, and utility incentives before you schedule work; local utilities in Florida periodically offer rebates for attic insulation and air sealing.
Key Takeaways
After years of repairs and second-opinion calls, we see the same handful of failure patterns. Each one is preventable.
Expert Tip: On walkthrough day, look at the foam itself. Well-installed foam is uniform, adhered tightly, and slightly dimpled where it rose against the substrate. Soft spots, voids, shrinkage gaps at framing edges, or a lingering chemical smell are all reasons to call the contractor back before you make the final payment.
You now have the full picture: how the two foam types differ, where each belongs, what the process looks like, what projects typically cost, and where the returns come from. The path from here is straightforward.
Start with your building’s problem areas: the hot rooms, the humid crawlspace, the attic that swallows your AC. Match the foam to the assembly and climate, as we’ve outlined, rather than to the loudest sales pitch. Verify credentials, product data, re-occupancy guidance, and written scope before you sign. Plan around weather windows, budget for removal if the old insulation has failed, and hold back final payment until you’ve inspected the finished foam.
Bookmark this guide and return to it as your project moves through quotes, scheduling, and walkthrough. Every section here answers a question we hear weekly from homeowners and builders in the field, and it will still be accurate advice on the day your crew pulls up. And when you’re ready for a professional assessment of your home or building, we’re one call away.
If you’d like help matching the right foam to your home or building, our team at Spray Foam Contractors LLC is glad to talk it through. We serve homeowners and businesses with honest assessments, written scopes, and installations done to manufacturer specifications. Reach out to us for a free consultation at [email protected] or call (239) 688-4979. There’s no pressure, just clear answers about your building, your climate, and your options. We’re happy to review your project even if you’re still in the research stage.
Most single-area projects, like an attic or crawlspace, finish in one day. Whole-home projects with walls and rooflines typically take two to four days including prep and cleanup.
Plan to vacate during application and for at least 24 hours afterward, following general industry guidance. Your contractor should confirm the exact re-occupancy time for the specific product in writing.
In our hot-humid climate, closed-cell is preferred in walls and below-grade spaces for its vapor control and water resistance, while open-cell performs well in roofline applications when moisture is managed. The right choice depends on the specific assembly.
Correctly applied and fully cured foam is generally considered relatively inert, and most homeowners notice no lasting odor. Persistent smells signal a curing problem, which the EPA advises addressing with your contractor and, if needed, an indoor air quality consultant.
No, foam should bond to clean framing. Old insulation is removed first so the foam adheres properly and any moisture or pest issues are visible before sealing the cavity.
Yes. It stiffens assemblies it’s sprayed on, and studies documented improved roof deck wind-uplift performance and wall racking strength, which is why it’s popular in hurricane-prone regions.